Clematis: How to Take Cuttings
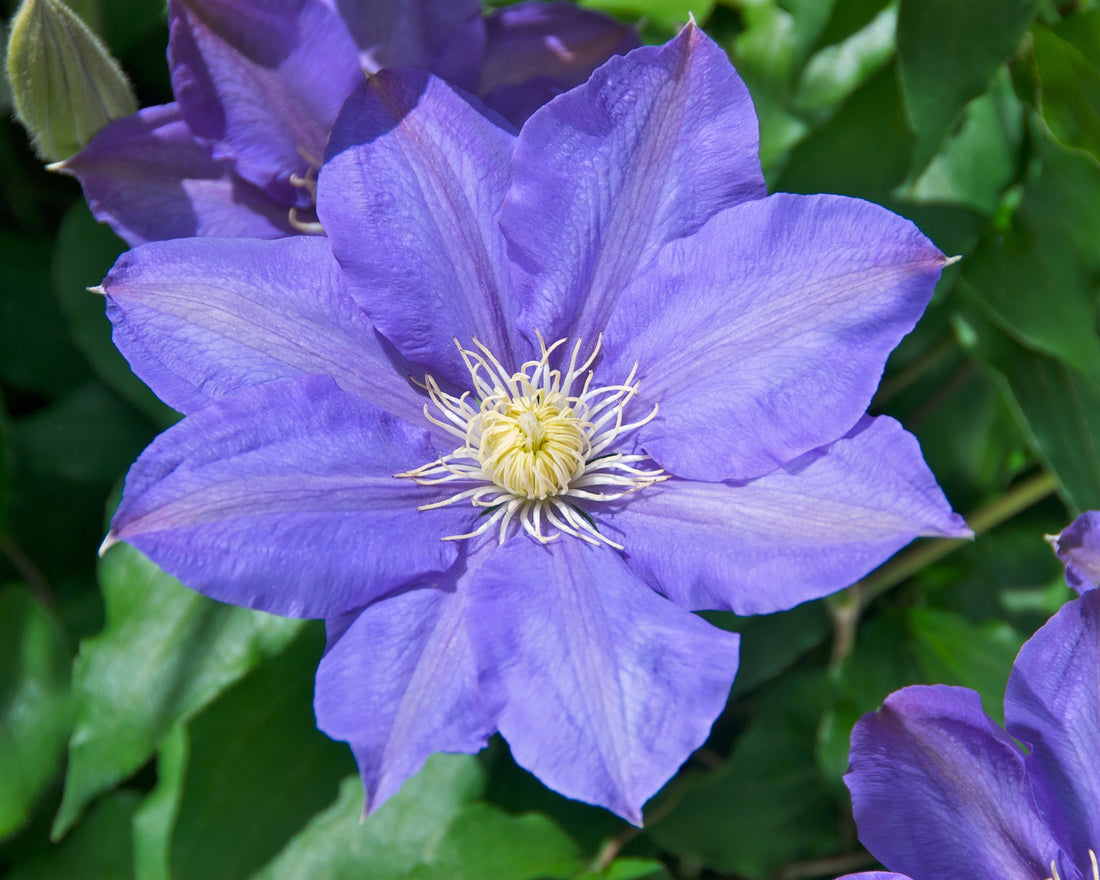
Propagating clematis vines by taking cuttings is a rewarding way to multiply your favorite varieties while maintaining their unique characteristics. With patience and the right techniques, you can produce healthy, rooted clematis cuttings to expand your garden or share with friends.

Why Propagate Clematis by Cuttings?
- Cloning Benefits: Cuttings produce exact replicas of the parent plant, preserving flower color, size, and growth habits.
- Cost-Effective: Growing new plants from cuttings is a budget-friendly way to expand your garden.
- Satisfaction: Watching your cuttings grow into mature clematis plants is deeply fulfilling.

Best Time to Take Cuttings
-
Softwood Cuttings
- Taken in late spring to early summer when new growth is tender and flexible. These cuttings root quickly and are easier to manage.
-
Semi-Hardwood Cuttings
- Taken in mid to late summer when stems have started to mature. While these cuttings take longer to root, they often produce hardier plants.

Materials Needed
- Sharp, sterilized pruning shears
- Rooting hormone (optional but recommended)
- Small pots filled with a mix of perlite and peat moss
- Clear plastic bags or a propagation dome
- Spray bottle for misting
Step-by-Step Guide
-
Choose a Healthy Stem
- Select a non-flowering stem from the current season’s growth. Flowering stems are less likely to root successfully.
-
Prepare the Cutting
- Using sterilized shears, cut a 4–6-inch section just below a leaf node. The node is where new roots will form.
- Remove the lower leaves, leaving 1–2 leaves at the top. If the leaves are large, cut them in half to reduce water loss.
-
Apply Rooting Hormone
- Dip the cut end into rooting hormone to encourage faster and more reliable root development.
-
Plant the Cutting
- Insert the cutting into a pot filled with a well-draining medium like perlite and peat moss. Ensure the leaf node is just below the soil surface.
-
Create a Humid Environment
- Cover the pot with a clear plastic bag or place it under a propagation dome to maintain humidity. Avoid letting the plastic touch the cutting.
-
Monitor and Care
- Place the cutting in bright, indirect light. Mist daily to maintain humidity and keep the soil slightly moist.
-
Check for Roots
- After 4–6 weeks, gently tug on the cutting to check for resistance, which indicates root development.
-
Transplant
- Once roots are well-established, transplant the cutting into a larger pot or directly into the garden.
Tips for Success
- Humidity is Key: High humidity is essential for successful rooting. Use a spray bottle to mist the cutting regularly.
- Avoid Overwatering: Excess moisture can lead to rot. Use a well-draining soil mix and ensure pots have drainage holes.
For clematis varieties perfect for propagation, visit our Clematis Collection.
FAQ: Clematis How to Take Cuttings
Q: Can I propagate clematis in water?
A: While possible, soil-based propagation is more reliable for developing strong, healthy roots.
Q: How long does it take for clematis cuttings to root?
A: Softwood cuttings typically root in 4–6 weeks, while semi-hardwood cuttings may take up to 8 weeks.
Q: Should I fertilize cuttings?
A: No, wait until the cutting is fully rooted before applying any fertilizer.


